Art Resin Instructions: A Comprehensive Guide
Resin art offers a fantastic avenue for creative expression, allowing you to craft durable, sparkling, and personalized home décor pieces․ This guide will illuminate the process!
Art resin is a captivating artistic medium gaining immense popularity, enabling the creation of stunning, glossy artworks and functional pieces․ It involves combining resin – a liquid plastic – with hardeners, pigments, and various embellishments․ This process allows artists to encapsulate objects, create mesmerizing color effects, and achieve a glass-like finish․
The beauty of resin lies in its versatility․ From jewelry and coasters to paintings and furniture, the possibilities are truly endless․ It’s a fantastic outlet for both beginners and experienced artists seeking a unique and rewarding creative journey․ Prepare to unlock a world of shimmering possibilities!
Understanding Resin Types
Navigating the world of resins begins with understanding the different types available, each possessing unique characteristics suited for specific projects․ The two primary categories are epoxy resin and polyester resin, differing in strength, cost, and application․ Epoxy offers superior clarity, durability, and resistance to yellowing, making it ideal for art pieces․
Polyester resin is more affordable but can be brittle and prone to yellowing․ A third option, UV resin, cures rapidly under ultraviolet light, perfect for smaller crafts and quick projects․ Choosing the right resin is crucial for achieving desired results and longevity․
2․1 Epoxy Resin vs․ Polyester Resin
Epoxy resin stands out for its exceptional strength, clarity, and resistance to UV yellowing, making it a preferred choice for artists seeking long-lasting, vibrant creations․ It bonds well with various materials and offers a longer working time․ However, epoxy is generally more expensive than polyester resin․
Polyester resin, while cost-effective, tends to be more brittle and susceptible to yellowing over time․ It’s faster curing but releases stronger fumes․ Polyester is often used for casting and fiberglass work, but epoxy excels in artistic applications demanding durability and visual appeal․
2․2 UV Resin for Small Projects
UV resin is a fantastic option for smaller art projects, charms, jewelry, and quick coatings due to its incredibly fast curing time – often just minutes under a UV lamp! This eliminates lengthy waiting periods associated with epoxy or polyester resins․ It’s user-friendly and requires minimal mixing, making it ideal for beginners․
However, UV resin is typically more expensive per volume and best suited for thin layers․ Thick pours can lead to cracking or incomplete curing․ Proper UV lamp exposure is crucial for achieving optimal hardness and preventing stickiness․ Safety precautions, like eye protection, are essential․
Essential Tools and Materials
Embarking on resin art requires gathering specific supplies․ First, you’ll need the resin and hardener itself, carefully chosen based on your project’s needs․ Molds, typically silicone or plastic, define your artwork’s shape․ Pigments and colorants – mica powders, alcohol inks, or dyes – add vibrancy․
Accurate measurement is key, so have mixing cups and stir sticks ready․ Crucially, prioritize safety with gloves, a respirator, and eye protection to shield against fumes and skin contact․ These tools ensure a safe and successful resin art experience․
3․1 Resin and Hardener
The foundation of resin art lies in the resin and hardener combination․ Resin, a liquid epoxy, requires a hardener to transform into a solid form․ Different resin types offer varying properties – clarity, durability, and curing times․ Always use a resin and hardener specifically designed for art, avoiding industrial varieties․
Understanding the ratio is paramount; incorrect proportions lead to sticky or brittle results․ Quality resins often have a 1:1 or 2:1 mix ratio, clearly stated on the product label․ Careful selection ensures a beautiful, lasting artwork․
3․2 Molds (Silicone, Plastic)
Molds are essential for shaping your resin creations․ Silicone molds are highly recommended due to their flexibility, allowing for easy demolding without damaging your artwork․ Plastic molds are also usable, but can sometimes require a mold release agent to prevent sticking․
A wide variety of shapes and sizes are available, from simple geometric forms to intricate designs․ Consider the final aesthetic you desire when selecting a mold․ Proper mold preparation ensures clean, professional-looking resin pieces․
3․3 Pigments and Colorants (Mica Powders, Alcohol Inks)
Adding color to resin is key to artistic expression․ Mica powders offer pearlescent and shimmering effects, creating depth and visual interest․ Alcohol inks provide vibrant, translucent colors that blend beautifully within the resin;
Experiment with different pigments and colorants to achieve unique looks․ Remember that a little goes a long way! Carefully incorporate these elements during the mixing stage for even distribution and stunning results․ Consider layering colors for complex effects․
3․4 Mixing Cups and Stir Sticks
Accurate resin mixing demands appropriate tools․ Disposable plastic or silicone mixing cups are ideal, allowing for easy pouring and cleanup․ Graduated cups are particularly helpful for precise resin-to-hardener ratios․
Wooden stir sticks are commonly used, but silicone stir sticks are reusable and prevent static cling․ Avoid using sticks that shed fibers․ Thoroughly mix the resin and hardener, scraping the sides and bottom of the cup to ensure complete combination․
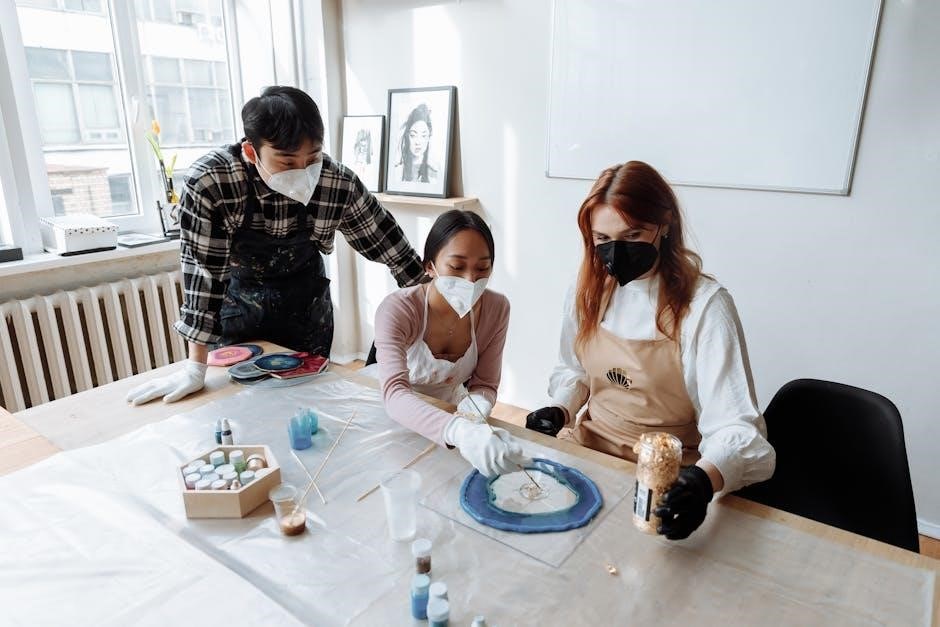
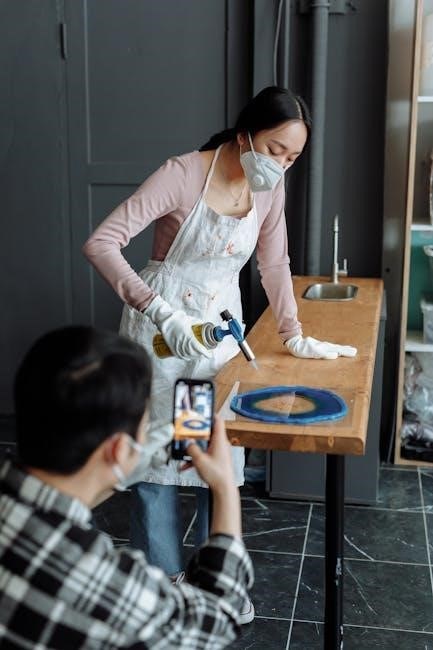
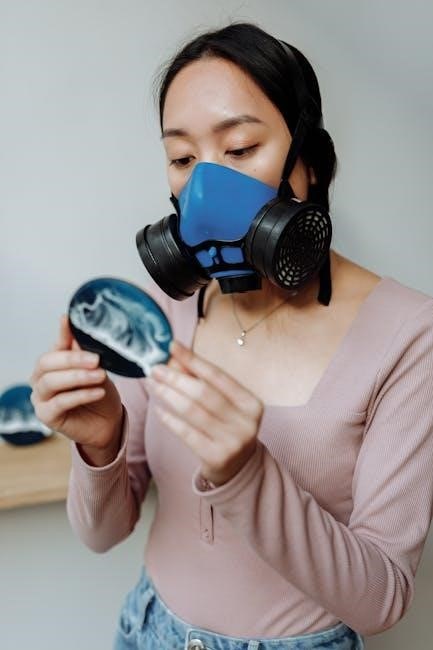
3․5 Safety Equipment (Gloves, Respirator, Eye Protection)
Resin work necessitates robust safety measures․ Always wear nitrile gloves to prevent skin contact, as resin can cause irritation or allergic reactions․ A respirator with organic vapor cartridges is crucial, protecting your lungs from potentially harmful fumes during mixing and pouring․
Eye protection, such as safety glasses or goggles, shields your eyes from splashes; Work in a well-ventilated area, and consider a face shield for added protection․ Prioritize your health and safety throughout the entire process!
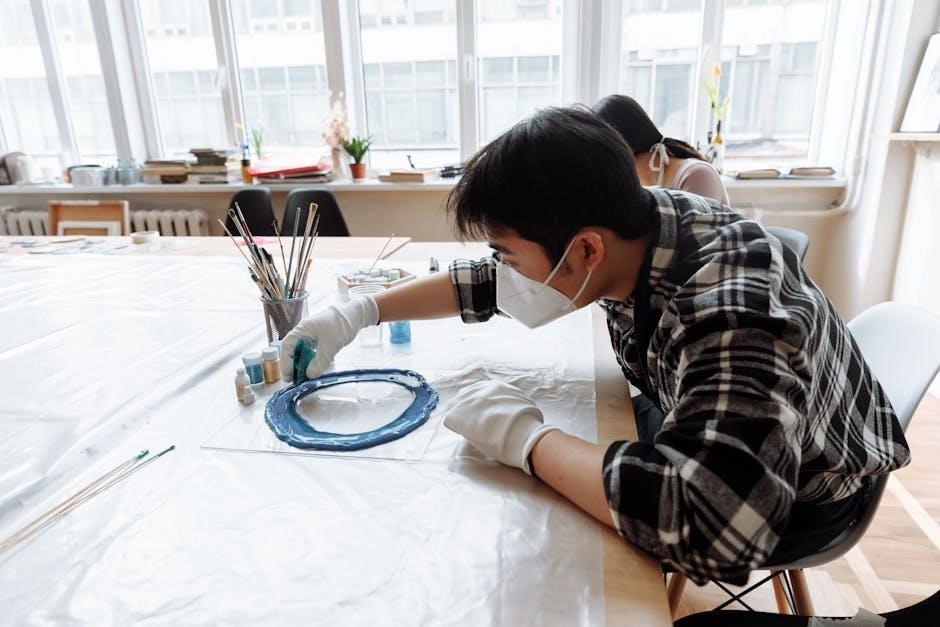
Preparing Your Workspace
A dedicated, well-prepared workspace is paramount for successful resin art․ Begin by ensuring excellent ventilation – open windows and use fans to circulate air, minimizing fume inhalation․ Maintain a stable temperature between 70-75°F (21-24°C) for optimal resin curing․
Protect your work surface with plastic sheeting or a silicone mat to prevent resin from adhering․ Have all tools and materials readily accessible․ Eliminate distractions and ensure adequate lighting for precise work․ A clean, organized space fosters creativity!
4․1 Ventilation and Temperature Control
Proper ventilation is crucial when working with resin, as fumes can be irritating․ Always work in a well-ventilated area, opening windows and utilizing fans to ensure adequate air circulation․ A respirator is highly recommended for prolonged use․
Temperature significantly impacts resin curing․ Maintain a consistent temperature between 70-75°F (21-24°C) for optimal results․ Cooler temperatures can lead to slow curing and tackiness, while warmer temperatures may cause rapid curing and bubbling․
4․2 Surface Protection
Protecting your work surface is paramount when handling resin․ Resin is notoriously sticky and can bond permanently to almost any surface․ Cover your work area with plastic sheeting, silicone mats, or parchment paper․
These barriers prevent accidental spills from damaging your table or floor․ Ensure the protective layer extends beyond your project’s perimeter․ Clean up any spills immediately with isopropyl alcohol before they harden․ A dedicated resin workspace minimizes cleanup and maximizes project success․
Mixing Resin and Hardener
Accurate mixing is crucial for successful resin art․ Always follow the manufacturer’s specified ratio for resin and hardener – typically by volume or weight․ Incorrect ratios can lead to a sticky, uncured mess or a brittle final product․
Use dedicated mixing cups and stir sticks; avoid using containers you intend to reuse for food․ Stir slowly and thoroughly, scraping the sides and bottom of the cup, for the recommended time (usually 2-3 minutes) to ensure complete incorporation․
5․1 Accurate Measurement Ratios
Precision is paramount when combining resin and hardener․ Most resins require a 1:1 or 2:1 mix ratio by volume, but always consult your specific product’s instructions․ Using measuring cups designed for liquids, or a digital scale for weight-based ratios, guarantees accuracy․
Deviating from the recommended ratio will compromise the curing process, resulting in a soft, sticky, or brittle final piece․ Careful measurement prevents these issues and ensures a durable, professional-looking result․
5․2 Proper Mixing Techniques (Avoiding Bubbles)
Gentle mixing is key to minimizing bubbles; Avoid vigorous stirring, which introduces air into the resin․ Instead, slowly and deliberately combine the resin and hardener, scraping the sides and bottom of the mixing cup․
A figure-eight motion works effectively․ After initial mixing, allow the resin to sit for a minute or two; this allows surface bubbles to rise․ A heat gun or toothpick can further assist in bubble removal, discussed later in this guide․
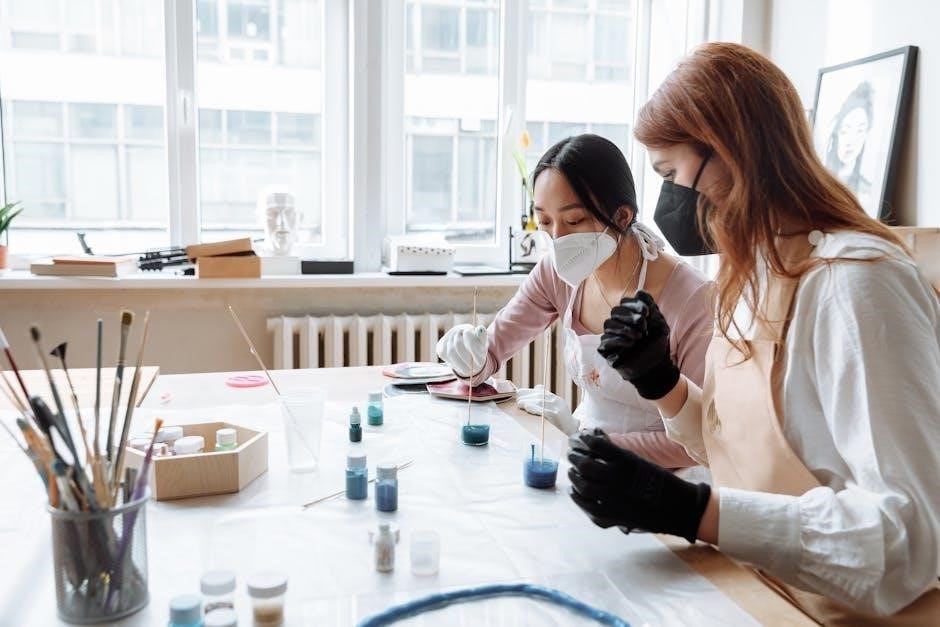
Adding Color and Effects
Unleash your creativity by incorporating pigments and dyes into your resin mixture․ Mica powders offer a shimmering, pearlescent effect, while alcohol inks create vibrant, flowing colors․ Experiment with different concentrations to achieve desired hues․
Embed objects like dried flowers, photographs, or glitter for unique visual interest․ Ensure these items are completely dry before embedding to prevent discoloration or unwanted reactions within the resin․ Layering effects can add depth and complexity to your artwork․
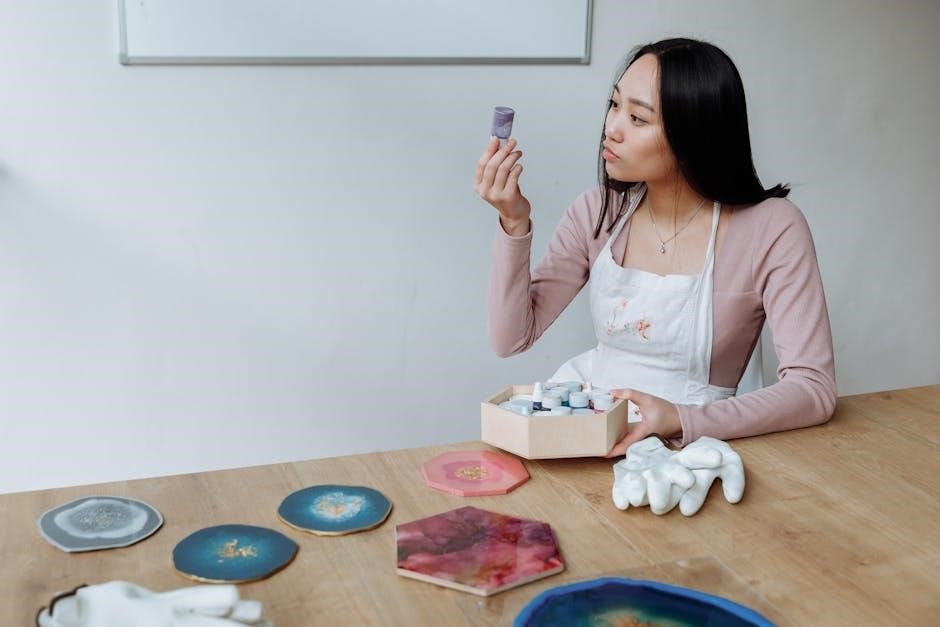
6․1 Incorporating Pigments and Dyes
Achieving vibrant colors in resin art is simple with the right pigments and dyes․ Mica powders deliver a beautiful shimmer, offering pearlescent and metallic effects․ Alcohol inks provide bold, flowing hues, perfect for abstract designs․
Carefully add small amounts of colorant to your mixed resin, stirring thoroughly to ensure even distribution․ Remember, a little goes a long way! Experiment with different concentrations to achieve your desired shade and opacity․
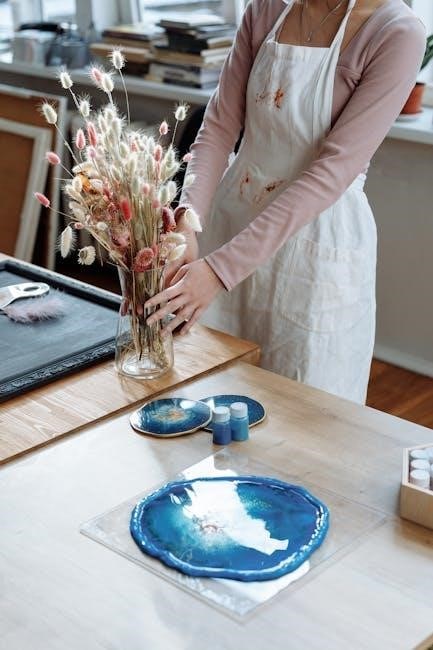
6․2 Embedding Objects (Flowers, Photos, Glitter)
Adding objects to your resin creations adds depth and personalization․ Flowers, photos, and glitter are popular choices, but ensure they are completely dry before embedding․ Moisture can cause cloudiness or reactions with the resin․
For photos, consider a sealant to prevent ink bleed․ Glitter should be added sparingly to avoid settling issues․ Arrange objects thoughtfully within the resin, and pour slowly to prevent displacement․ A thin initial layer can help secure delicate items․
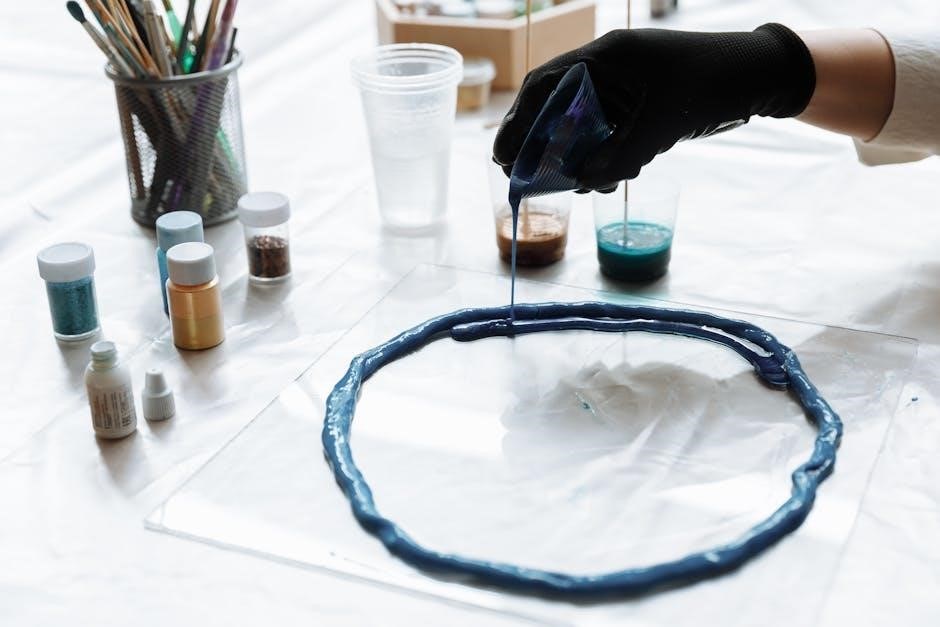
Pouring Techniques
Pouring resin is where artistry truly shines! The Dirty Pour method involves layering different colored resins into a cup, then pouring the mixture onto your surface, creating abstract patterns․ Layered Pouring involves pouring colors sequentially, allowing each layer to partially cure before adding the next․
Control is key; pour slowly and deliberately․ Tilting the surface helps distribute the resin evenly․ Experiment with different pouring heights and speeds to achieve unique effects․ Remember to consider the viscosity of your resin when choosing a technique․
7․1 Dirty Pour Method
The Dirty Pour is a captivating technique for abstract resin art․ Begin by layering various pigmented resins into a single cup – don’t mix! The order of colors impacts the final design․ Gently tilt and pour the entire cup’s contents onto your prepared surface․
Tilting the surface allows the resin to flow and blend, creating cells and unique patterns․ Control the flow by adjusting the tilt angle and speed․ This method is wonderfully unpredictable, yielding stunning, one-of-a-kind results․
7․2 Layered Pouring
Layered pouring offers greater control over your resin artwork’s appearance․ This technique involves pouring individual resin layers, allowing each to partially cure before adding the next․ This prevents colors from fully blending, creating defined strata․
Consider using contrasting colors or varying opacities for dramatic effects․ You can also embed objects between layers․ Patience is key, as each layer needs sufficient time to set before proceeding․ This method is ideal for achieving specific designs and depths․
Removing Bubbles
Bubbles are a common challenge in resin art, but thankfully, easily addressed! Trapped air can mar the clarity of your piece․ Two primary methods exist for bubble removal․ First, a heat gun gently warms the resin, causing bubbles to rise and pop․ Use caution to avoid overheating;
Alternatively, a toothpick or pin can manually pop individual bubbles; This is best for smaller projects or stubborn bubbles․ Prompt bubble removal ensures a flawless, professional finish to your resin creations․
8․1 Heat Gun Application
Employing a heat gun is a highly effective technique for eliminating bubbles within your resin pour․ Maintain a safe distance – approximately 6-8 inches – and use a low heat setting․ Gently sweep the heat gun across the resin surface in a sweeping motion․
Avoid focusing the heat on one spot for too long, as this can cause the resin to overheat and potentially scorch․ Observe as bubbles rise and pop․ This method is particularly useful for larger pieces where manual popping is impractical․
8․2 Toothpick/Pin Method
For smaller resin projects, or for bubbles that remain after using a heat gun, the toothpick or pin method proves invaluable․ Gently use the tip of a toothpick or pin to pop individual bubbles․
Exercise caution to avoid creating new indentations or disturbing the surrounding resin․ This technique requires patience and a delicate touch․ It’s best suited for addressing stubborn bubbles close to the surface, ensuring a flawlessly clear and polished final result․
Curing Process and Demolding
Allowing sufficient curing time is crucial for achieving optimal hardness and clarity in your resin artwork․ Typically, epoxy resin requires 24-72 hours to fully cure, though this can vary based on environmental factors like temperature and humidity․
Once cured, carefully demold your piece․ Silicone molds generally allow for easy release․ If using plastic molds, gentle flexing or a light application of a mold release agent may be necessary to avoid damage․
9․1 Curing Time and Environmental Factors
Optimal curing relies heavily on maintaining a stable environment․ Generally, epoxy resin needs 24 to 72 hours for complete hardening, but temperature significantly impacts this․ Warmer temperatures (around 75°F/24°C) accelerate curing, while cooler temperatures prolong it․
Humidity can also play a role, potentially causing a cloudy finish if excessive․ Avoid direct sunlight during curing․ Patience is key; rushing the process can lead to a soft, sticky, or imperfectly hardened piece․
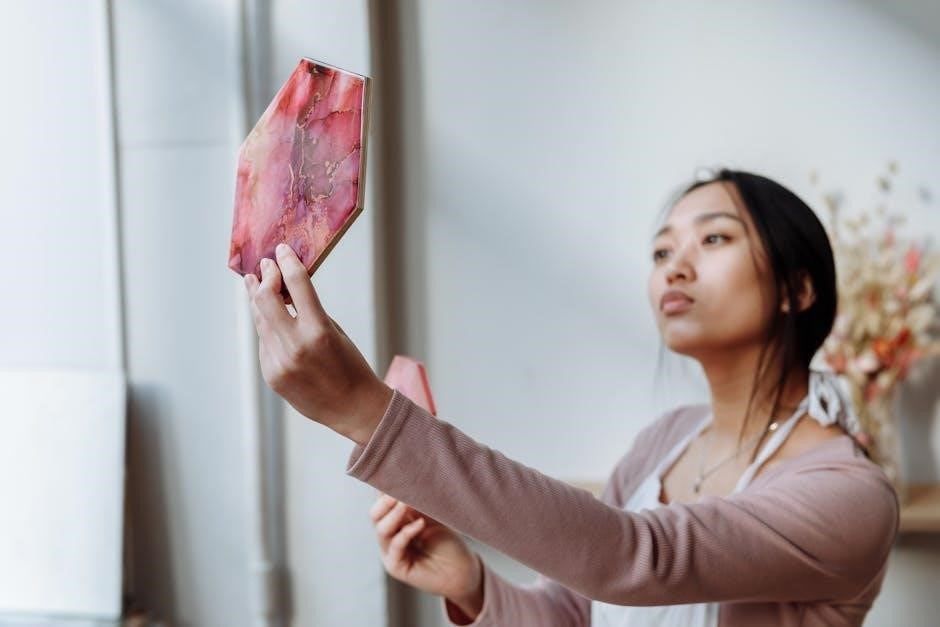
9․2 Safe Demolding Techniques
Demolding requires patience and a gentle touch to avoid damaging your resin creation․ Ensure the resin is fully cured before attempting removal – any tackiness indicates it needs more time․ Silicone molds offer the easiest release; gently flex the mold, starting from the edges, to loosen the piece․
For rigid molds, consider a light tap or placing it briefly in the freezer․ Never force the resin out, as this can cause breakage․ A release agent can be used proactively for difficult molds․
Finishing and Polishing
Achieving a flawless finish often requires post-demolding refinement․ Minor imperfections, like small bubbles or uneven surfaces, can be addressed through sanding․ Start with a coarser grit sandpaper (400-grit) and gradually move to finer grits (600, 800, 1000, and beyond) for a smooth surface․
Buffing compounds, applied with a polishing wheel, restore shine․ A protective coating, like a UV-resistant varnish, safeguards against yellowing and scratches, ensuring longevity and vibrancy․
10․1 Sanding and Buffing
Sanding is crucial for removing imperfections like bubbles or unevenness after demolding․ Begin with 400-grit sandpaper to address larger flaws, then progressively refine the surface using 600, 800, and finally 1000-grit or higher for ultimate smoothness․ Wet sanding minimizes dust and creates a superior finish․
Buffing restores shine lost during sanding․ Utilize a polishing wheel and buffing compound to achieve a high-gloss, professional look․ Patience and gradual pressure are key!
10․2 Applying a Protective Coating
A protective coating safeguards your resin artwork from scratches, UV damage, and yellowing over time․ Options include specialized resin varnishes or UV-resistant sprays․ Ensure the resin is thoroughly sanded and cleaned before application for optimal adhesion․
Apply thin, even layers, allowing each coat to fully cure before applying the next․ Multiple thin coats are preferable to one thick coat, minimizing drips and ensuring uniform protection․ This extends the artwork’s lifespan and preserves its vibrancy․